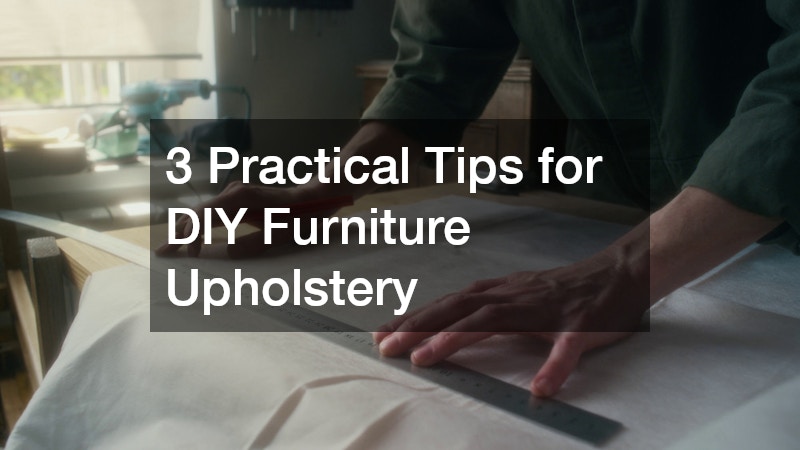
Revamping your old furniture can transform a room and give your home a fresh, personalized look. While hiring a professional for upholstery is always an option, tackling the project yourself can be both rewarding and cost-effective. DIY furniture upholstery allows you to choose fabrics, patterns, and textures that reflect your unique style while breathing new life into worn pieces. Whether you’re updating a vintage armchair or refreshing a tired sofa, these three practical tips can help ensure your project is successful from start to finish.
1. Choose the Right Materials
One of the most crucial elements of a successful DIY reupholstering project is selecting materials that will endure daily use while enhancing the style of your home. Begin with the fabric, which comes in an extensive variety of textures, patterns, colors, and levels of durability.
Heavyweight fabrics such as canvas, denim, or linen blends are excellent for chairs and sofas that get regular use, providing both strength and comfort. Lighter fabrics, on the other hand, work well for accent chairs, occasional seating, or decorative elements that see less wear.
Beyond the surface material, it’s important to consider the padding and batting beneath the fabric. High-density foam delivers firm seating support, while polyester or cotton batting adds softness, evens out the surface, and creates a professional, polished appearance. Choosing the right fasteners is equally important; strong upholstery thread, durable staples, and reliable tacks will help keep the material securely in place for years to come. Additionally, think about how the materials will age over time. Fabrics that resist stains, fading, and stretching will ensure your restored piece continues to look fresh, even with daily use.
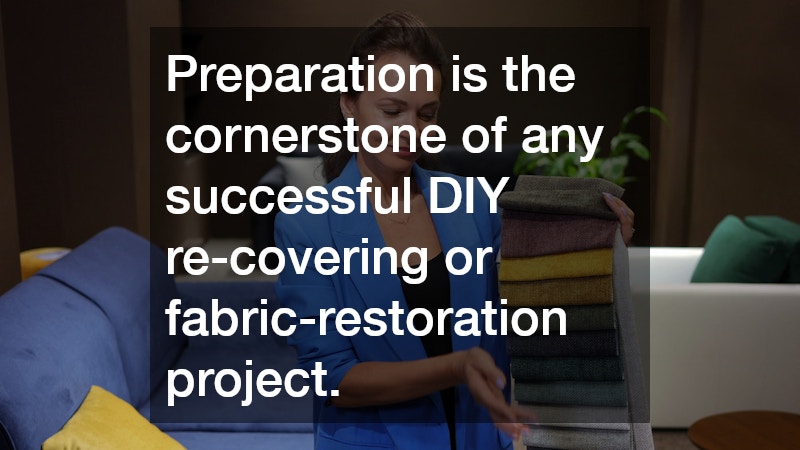
2. Prepare and Measure Carefully
Preparation is the cornerstone of any successful DIY re-covering or fabric-restoration project. Begin by carefully removing the existing fabric, paying close attention to how it was originally attached. Preserve pieces that are still intact to use as templates for cutting your new material, which can save time, reduce waste, and prevent costly errors. Next, take precise measurements of every part of the piece, including the seat, back, and arms, to ensure that the new covering fits seamlessly. Mark cutting lines clearly and account for seams, folds, and tucks so the fabric is neither too tight nor too loose.
It’s also important to thoroughly inspect the furniture frame and padding before adding fresh material. Strengthening weak joints, repairing any broken parts, or replacing old foam will enhance both comfort and durability. For complex shapes or antique pieces, consider making small practice cuts or mock-ups to perfect your approach. Meticulous attention to these preparatory steps ensures the finished piece not only looks polished and professional but also maintains structural integrity for years to come, giving your furniture a refreshed, long-lasting life.
3. Master Basic Upholstery Techniques
Even if you are new to DIY re-covering or fabric restoration, learning a few fundamental techniques can greatly enhance your results. Start with the basics: carefully fold and smooth the material, securing it evenly to prevent wrinkles or sagging. Knowing how to create sharp corners and neatly tuck excess fabric around curves will give your piece a polished, tailored look. For designs with buttons or tufting, practice spacing and securing them evenly to maintain both symmetry and tension.
Another key skill is stretching the fabric consistently; uneven tension can cause puckering or loose areas that undermine the overall appearance. Taking the time to watch tutorials, practice on smaller projects, or experiment with scrap material can build confidence and reduce mistakes on larger pieces. With patience, steady hands, and attention to these techniques, even beginners can transform worn or outdated furniture into visually striking, professional-quality pieces that feel custom-made.
Completing a DIY furniture upholstery project is a satisfying way to refresh your home décor while saving money. By carefully selecting durable materials, preparing and measuring with precision, and mastering key upholstery techniques, you can transform tired furniture into standout pieces that reflect your personal style. Furniture upholstery does not need to be intimidating—breaking the process into manageable steps allows anyone to achieve impressive results. Whether you are updating a family heirloom or customizing a modern piece, the right approach ensures that your furniture remains comfortable, stylish, and functional for years to come.